This guide describes how to setup SENTIENT ANALYTICS cluster with Kubernetes and Minikube.
Prerequisites
- SENTIENT version 4.3.0 or newer. In case you have SENTIENT version 4.2.1 or older, you could connect SENTIENT ANALYTICS to SENTIENT following the next guide.
- Active SENTIENT ANALYTICS addon. To find out how to activate it, please follow the next guide.
You need to have a Kubernetes cluster, and the kubectl command-line tool must be configured to communicate with your cluster.
If you don’t have Minikube installed, please follow these instructions.
Configure your cluster by designating a node for the SENTIENT ANALYTICS instance and labeling it with a custom label. Utilize affinity settings to instruct Kubernetes to deploy the SENTIENT ANALYTICS instance on the specified node. Ensure that the node meets specific CPU and RAM requirements, with the typical usage being around 4 CPU and 8GB RAM. While you can set your own limits, we advise adhering to or exceeding the recommended specifications mentioned earlier.
Installation Steps
Step 1. Clone SENTIENT ANALYTICS Kubernetes scripts
1
2
git clone https://github.com/sentient/sentient-analytics-k8s.git --depth 1
cd sentient-analytics-k8s
Step 2. Configure SENTIENT ANALYTICS database
Set up an external Postgresql database instance with an empty database named “sentient-analytics.” This instance can be hosted on services like RDS (AWS) or as your stateful deployment. Ensure you have the following information:
- URL (Example: jdbc:postgresql://sentient-analytics-db-service:5432/sentient-analytics)
- Username (Example: postgres)
- Password (Example: postgres)
Now we can configure the SENTIENT ANALYTICS database by editing the sentient-analytics-secret.yml file:
1
nano sentient-analytics-secret.yml
1
2
3
4
  SPRING_DATASOURCE_URL: jdbc:postgresql://sentient-analytics-db-service:5432/sentient-analytics
  SPRING_DATASOURCE_USERNAME: postgres
  SPRING_DATASOURCE_PASSWORD: postgres
Step 3. Running
1
2
3
4
5
6
7
8
kubectl apply -f sentient-analytics-namespace.yml
kubectl apply -f sentient-analytics-app-config.yml
kubectl apply -f sentient-analytics-app-db-config.yml
kubectl apply -f sentient-analytics-app-pvc.yml
kubectl apply -f sentient-analytics-app-deployment.yml
kubectl apply -f sentient-analytics-python-executor-config.yml
kubectl apply -f sentient-analytics-python-executor-deployment.yml
Step 4. Check the logs
Now check the logs and be sure that the instance is started successfully. There should be a next line:
1
2
3
kubectl logs -f [sentient-analytics-pod-name]

Started SENTIENT ANALYTICSApplication in 5.654 seconds (JVM running for 6.229)
Where:
sentient-analytics-pod-name- sentient-analytics pod name obtained from the list of the running sentient-analytics pods.
Step 5. Set up a load balancer
The last thing is to set up a load balancer to route requests to the SENTIENT ANALYTICS instance. Just update your current load balancer config using reference from the sentient-analytics-ingress.yml file.
Do not apply this file, it is just an example. Different environments have different requirements for these configurations, so you need to adjust these settings to your environment.
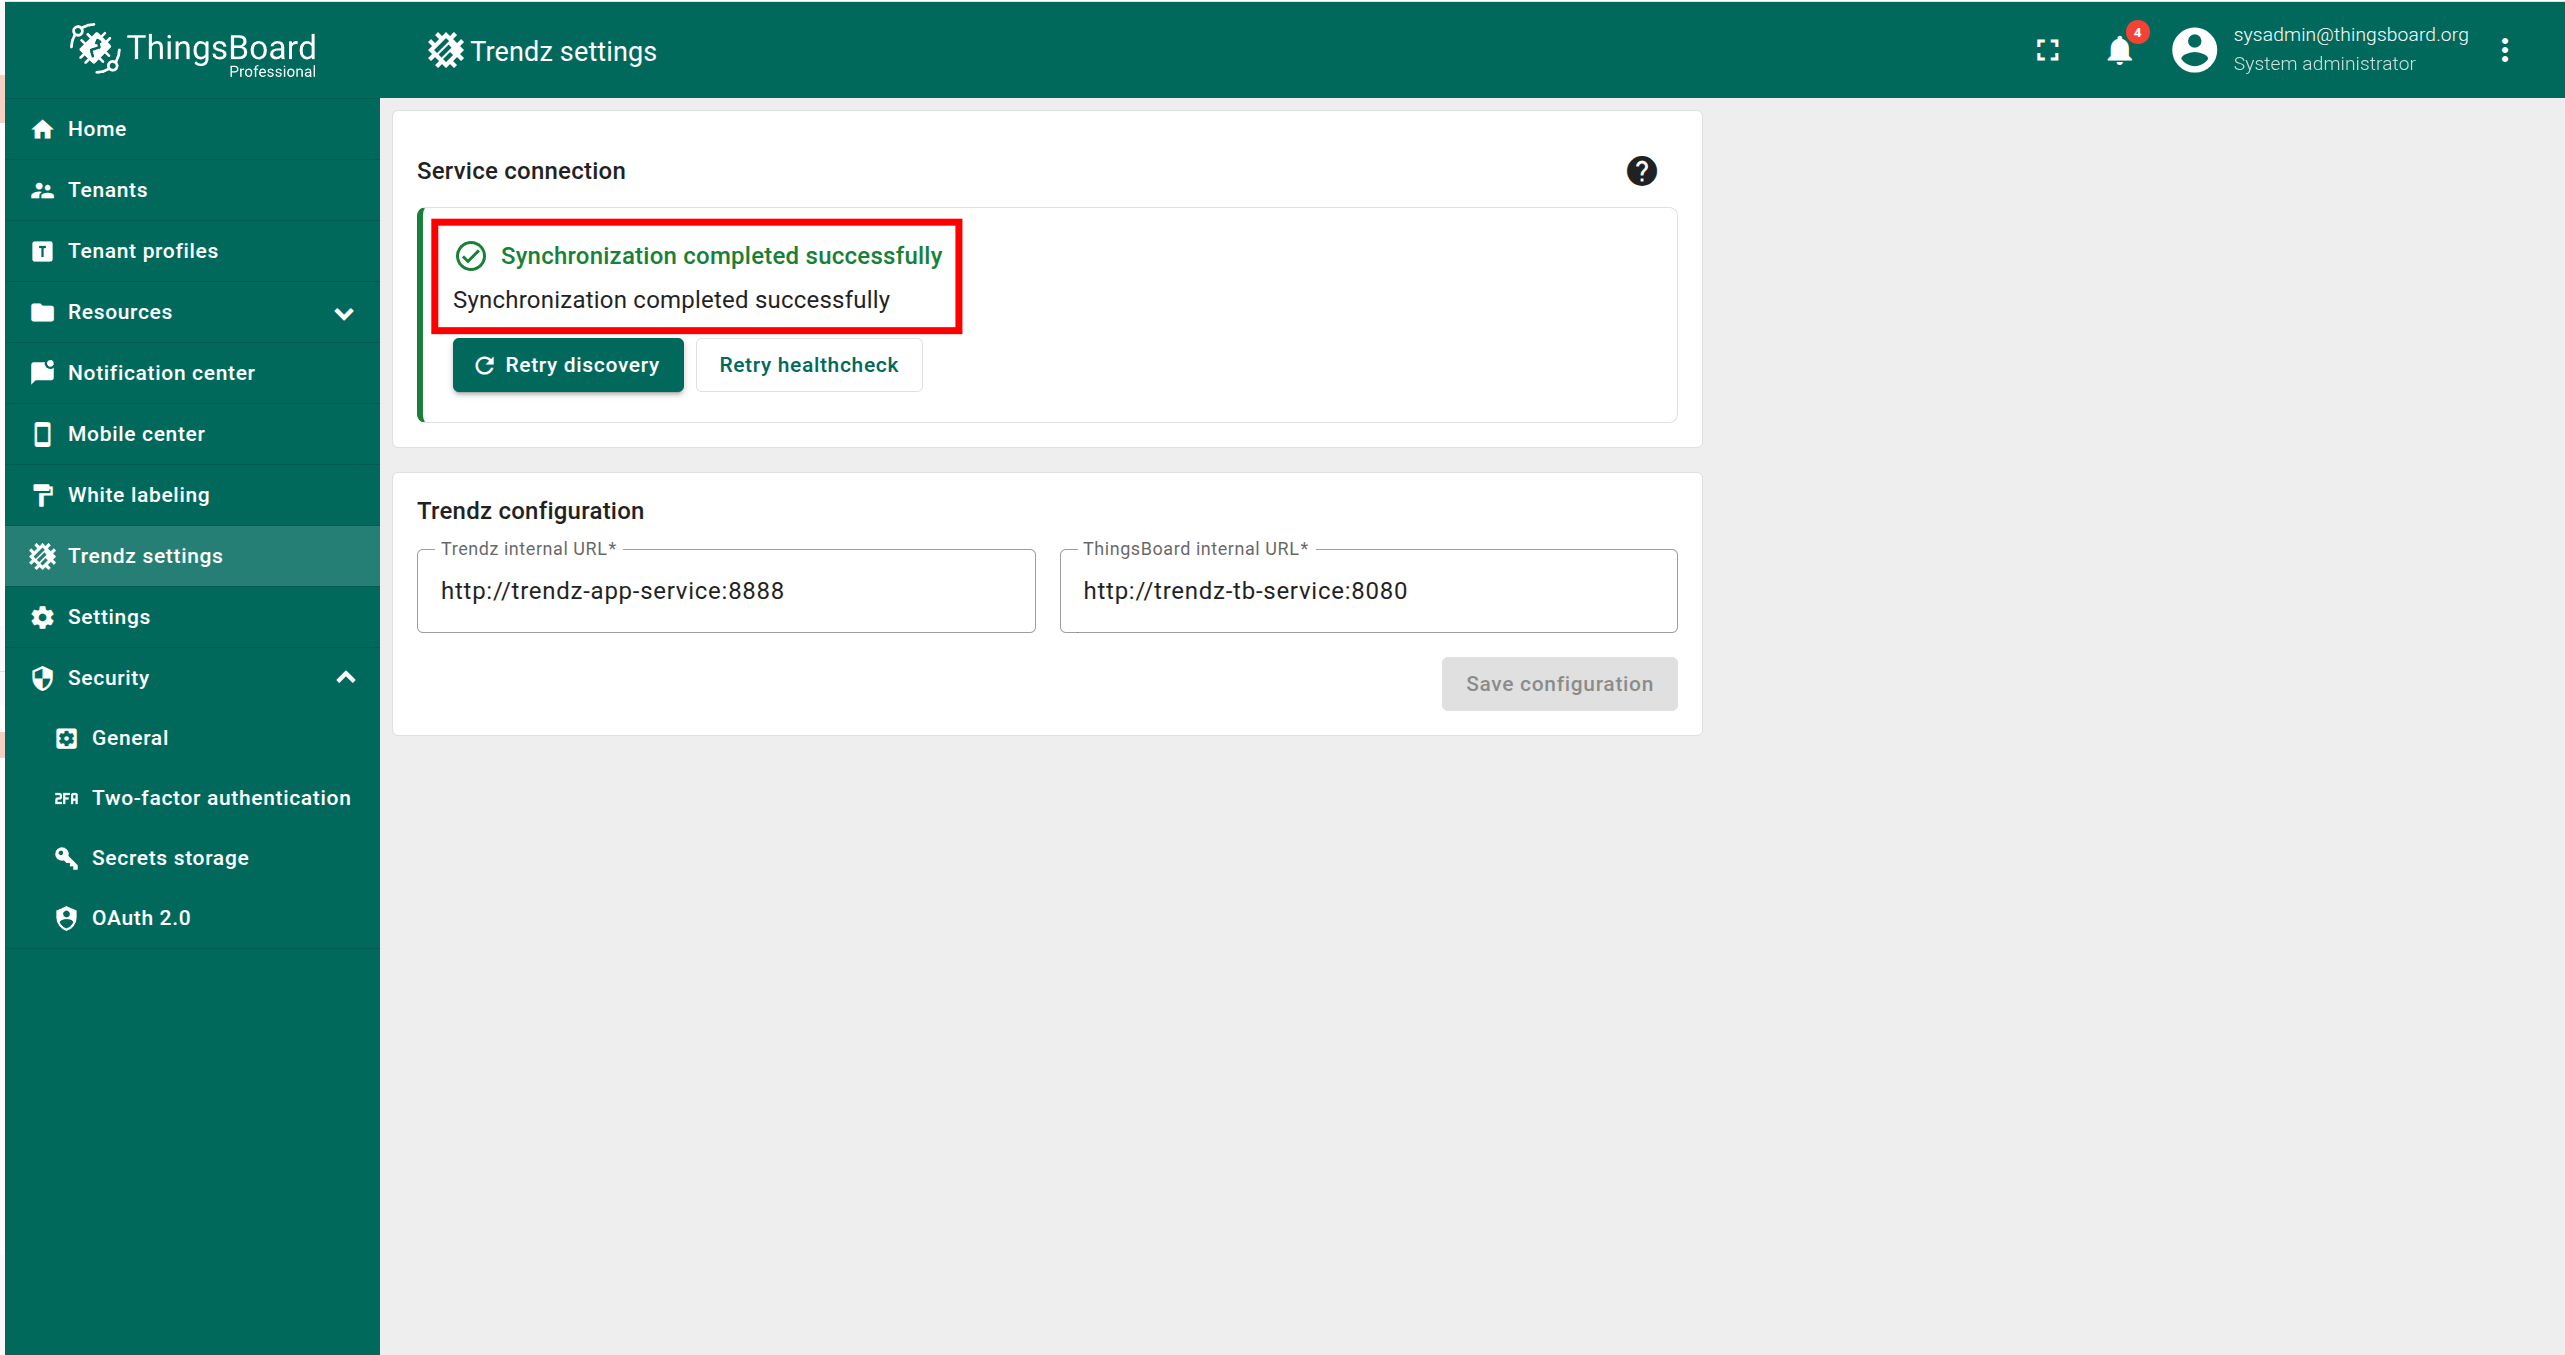
Step 6. Sync SENTIENT With SENTIENT ANALYTICS
The final step is to verify that SENTIENT is synchronized with SENTIENT ANALYTICS. To do this:
- Log in to SENTIENT as a Sysadmin.
- Open the SENTIENT ANALYTICS Settings page.
If you see the message “Synchronization completed successfully”, the synchronization has been completed automatically and no further action is required.

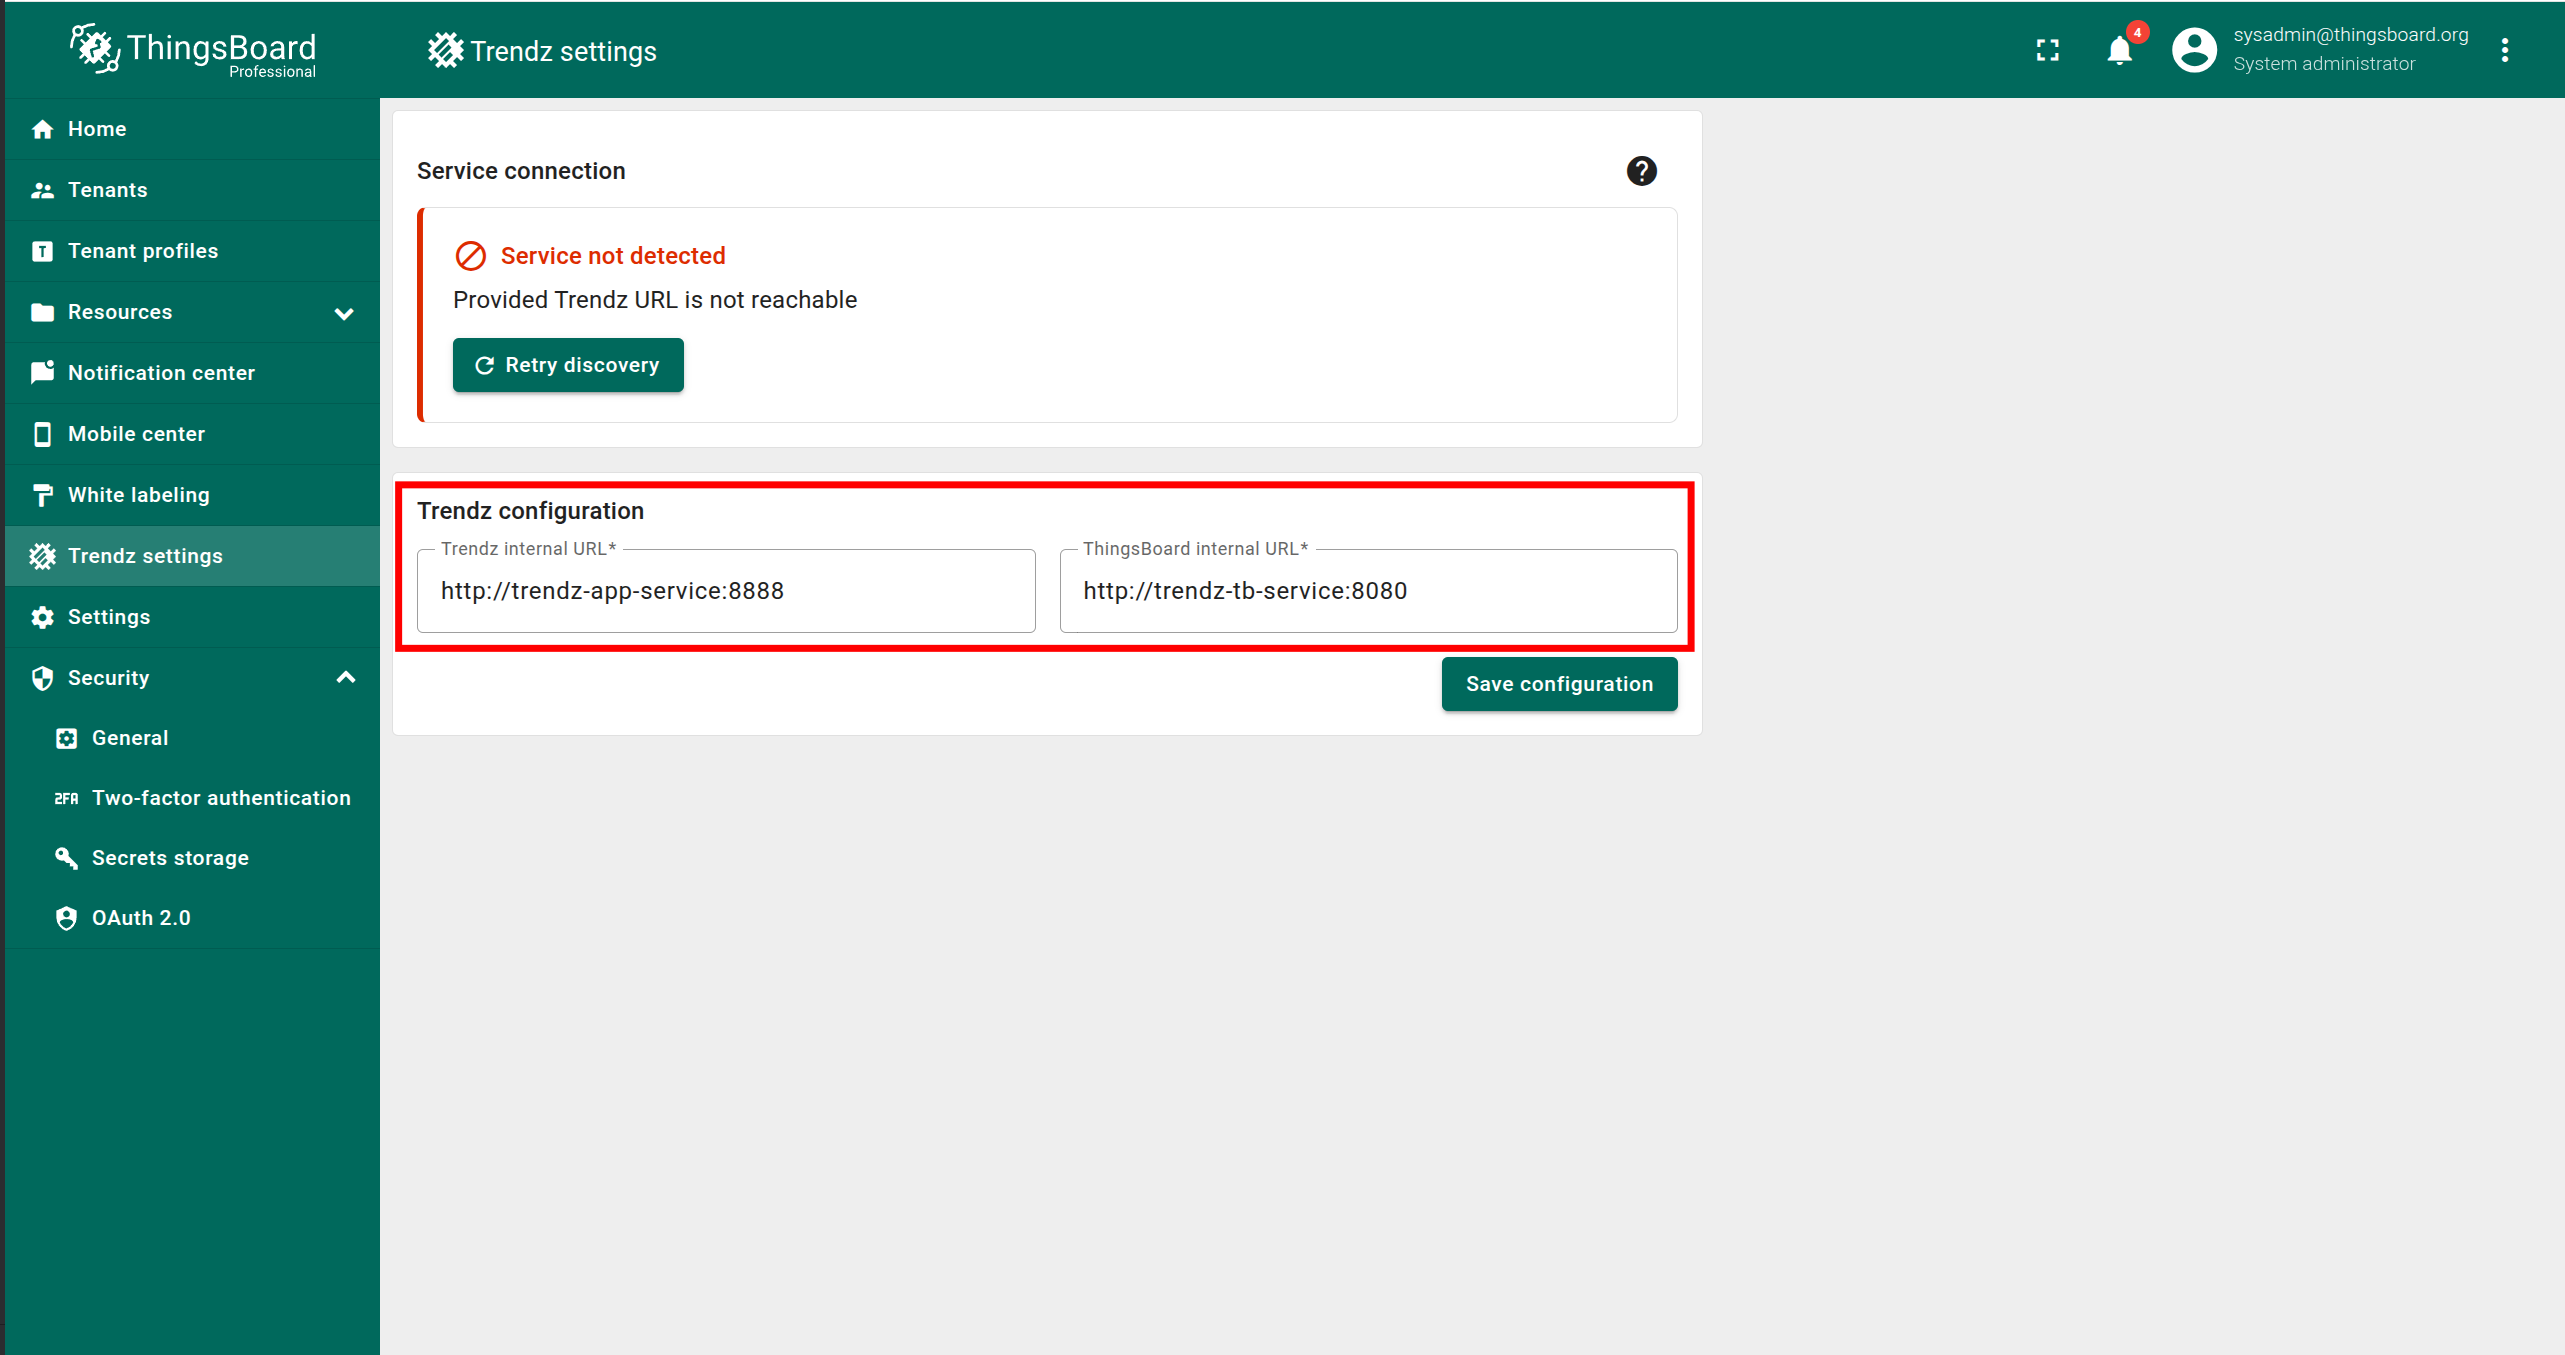
If you see an error message, follow these steps:
- Make sure that SENTIENT ANALYTICS is running.
- Enter the correct SENTIENT ANALYTICS internal URL. It must be accessible from the SENTIENT service.
- Enter the correct SENTIENT internal URL. It must be accessible from the SENTIENT ANALYTICS service.
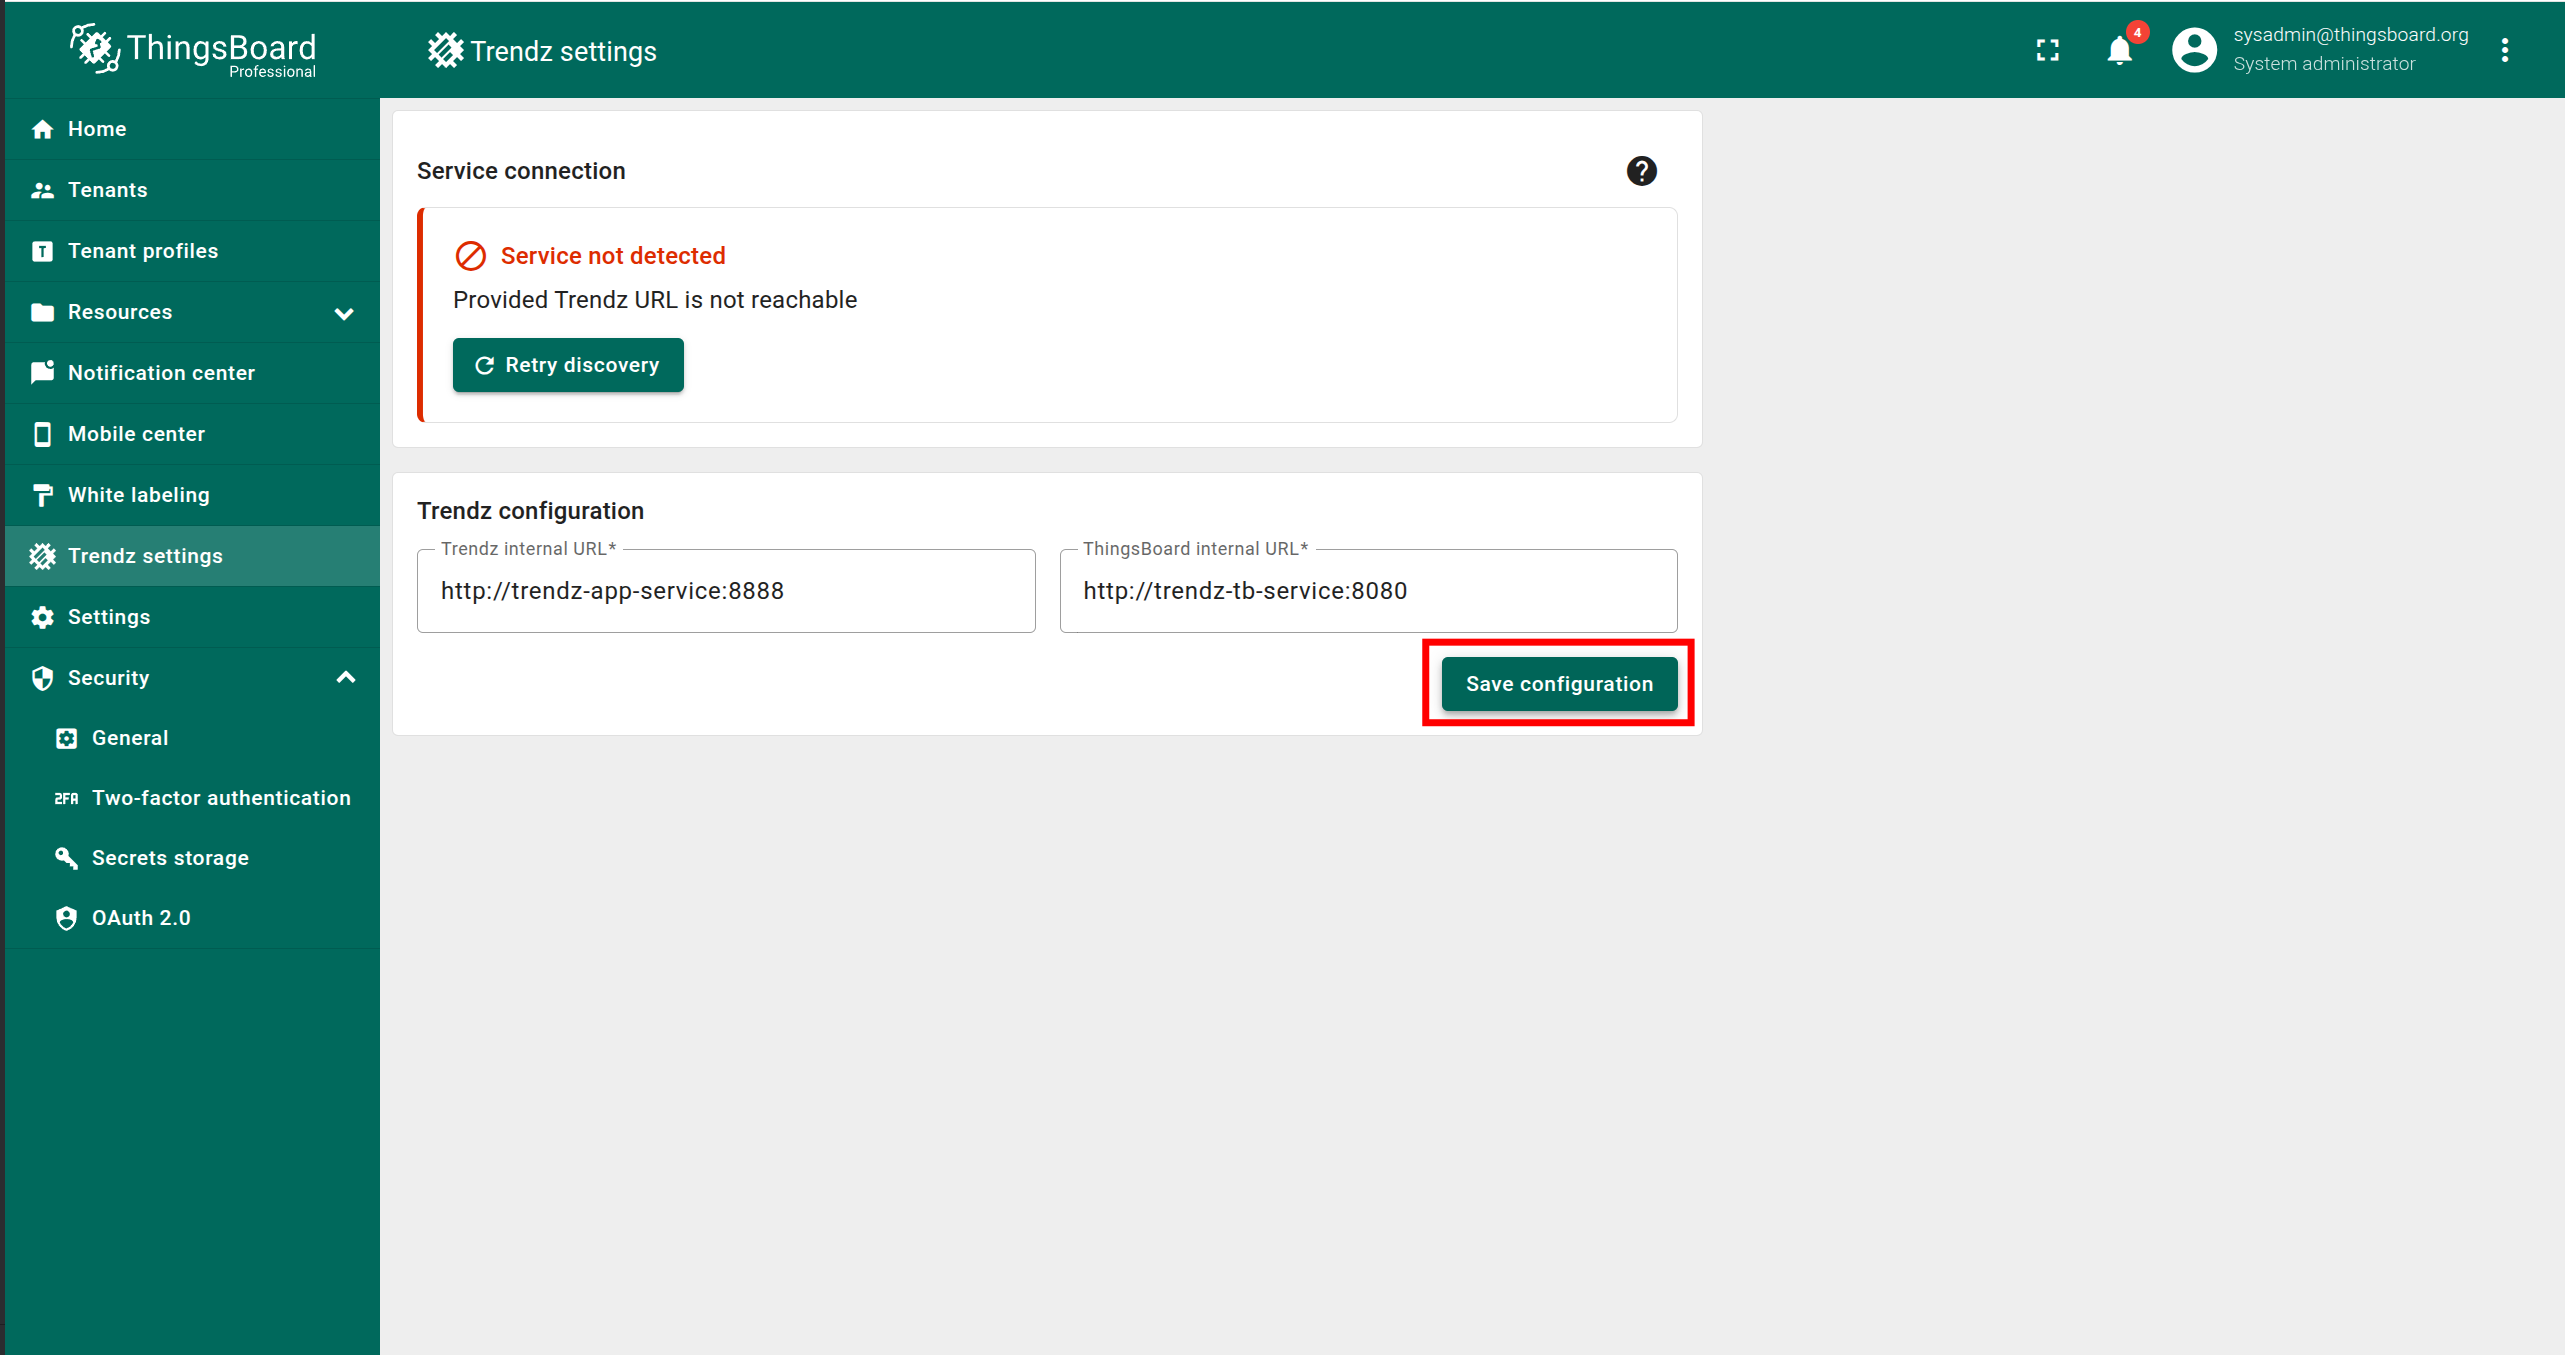
- Click Save configuration.
- Click Retry discovery.
Once the message “Synchronization completed successfully” appears, the synchronization is complete.


Authentication
You can access SENTIENT ANALYTICS UI by default at http://localhost:8888
SENTIENT ANALYTICS uses SENTIENT as an authentication service, so for first authentication, you need to use Tenant Administrator credentials from your SENTIENT.
Topology Discovery
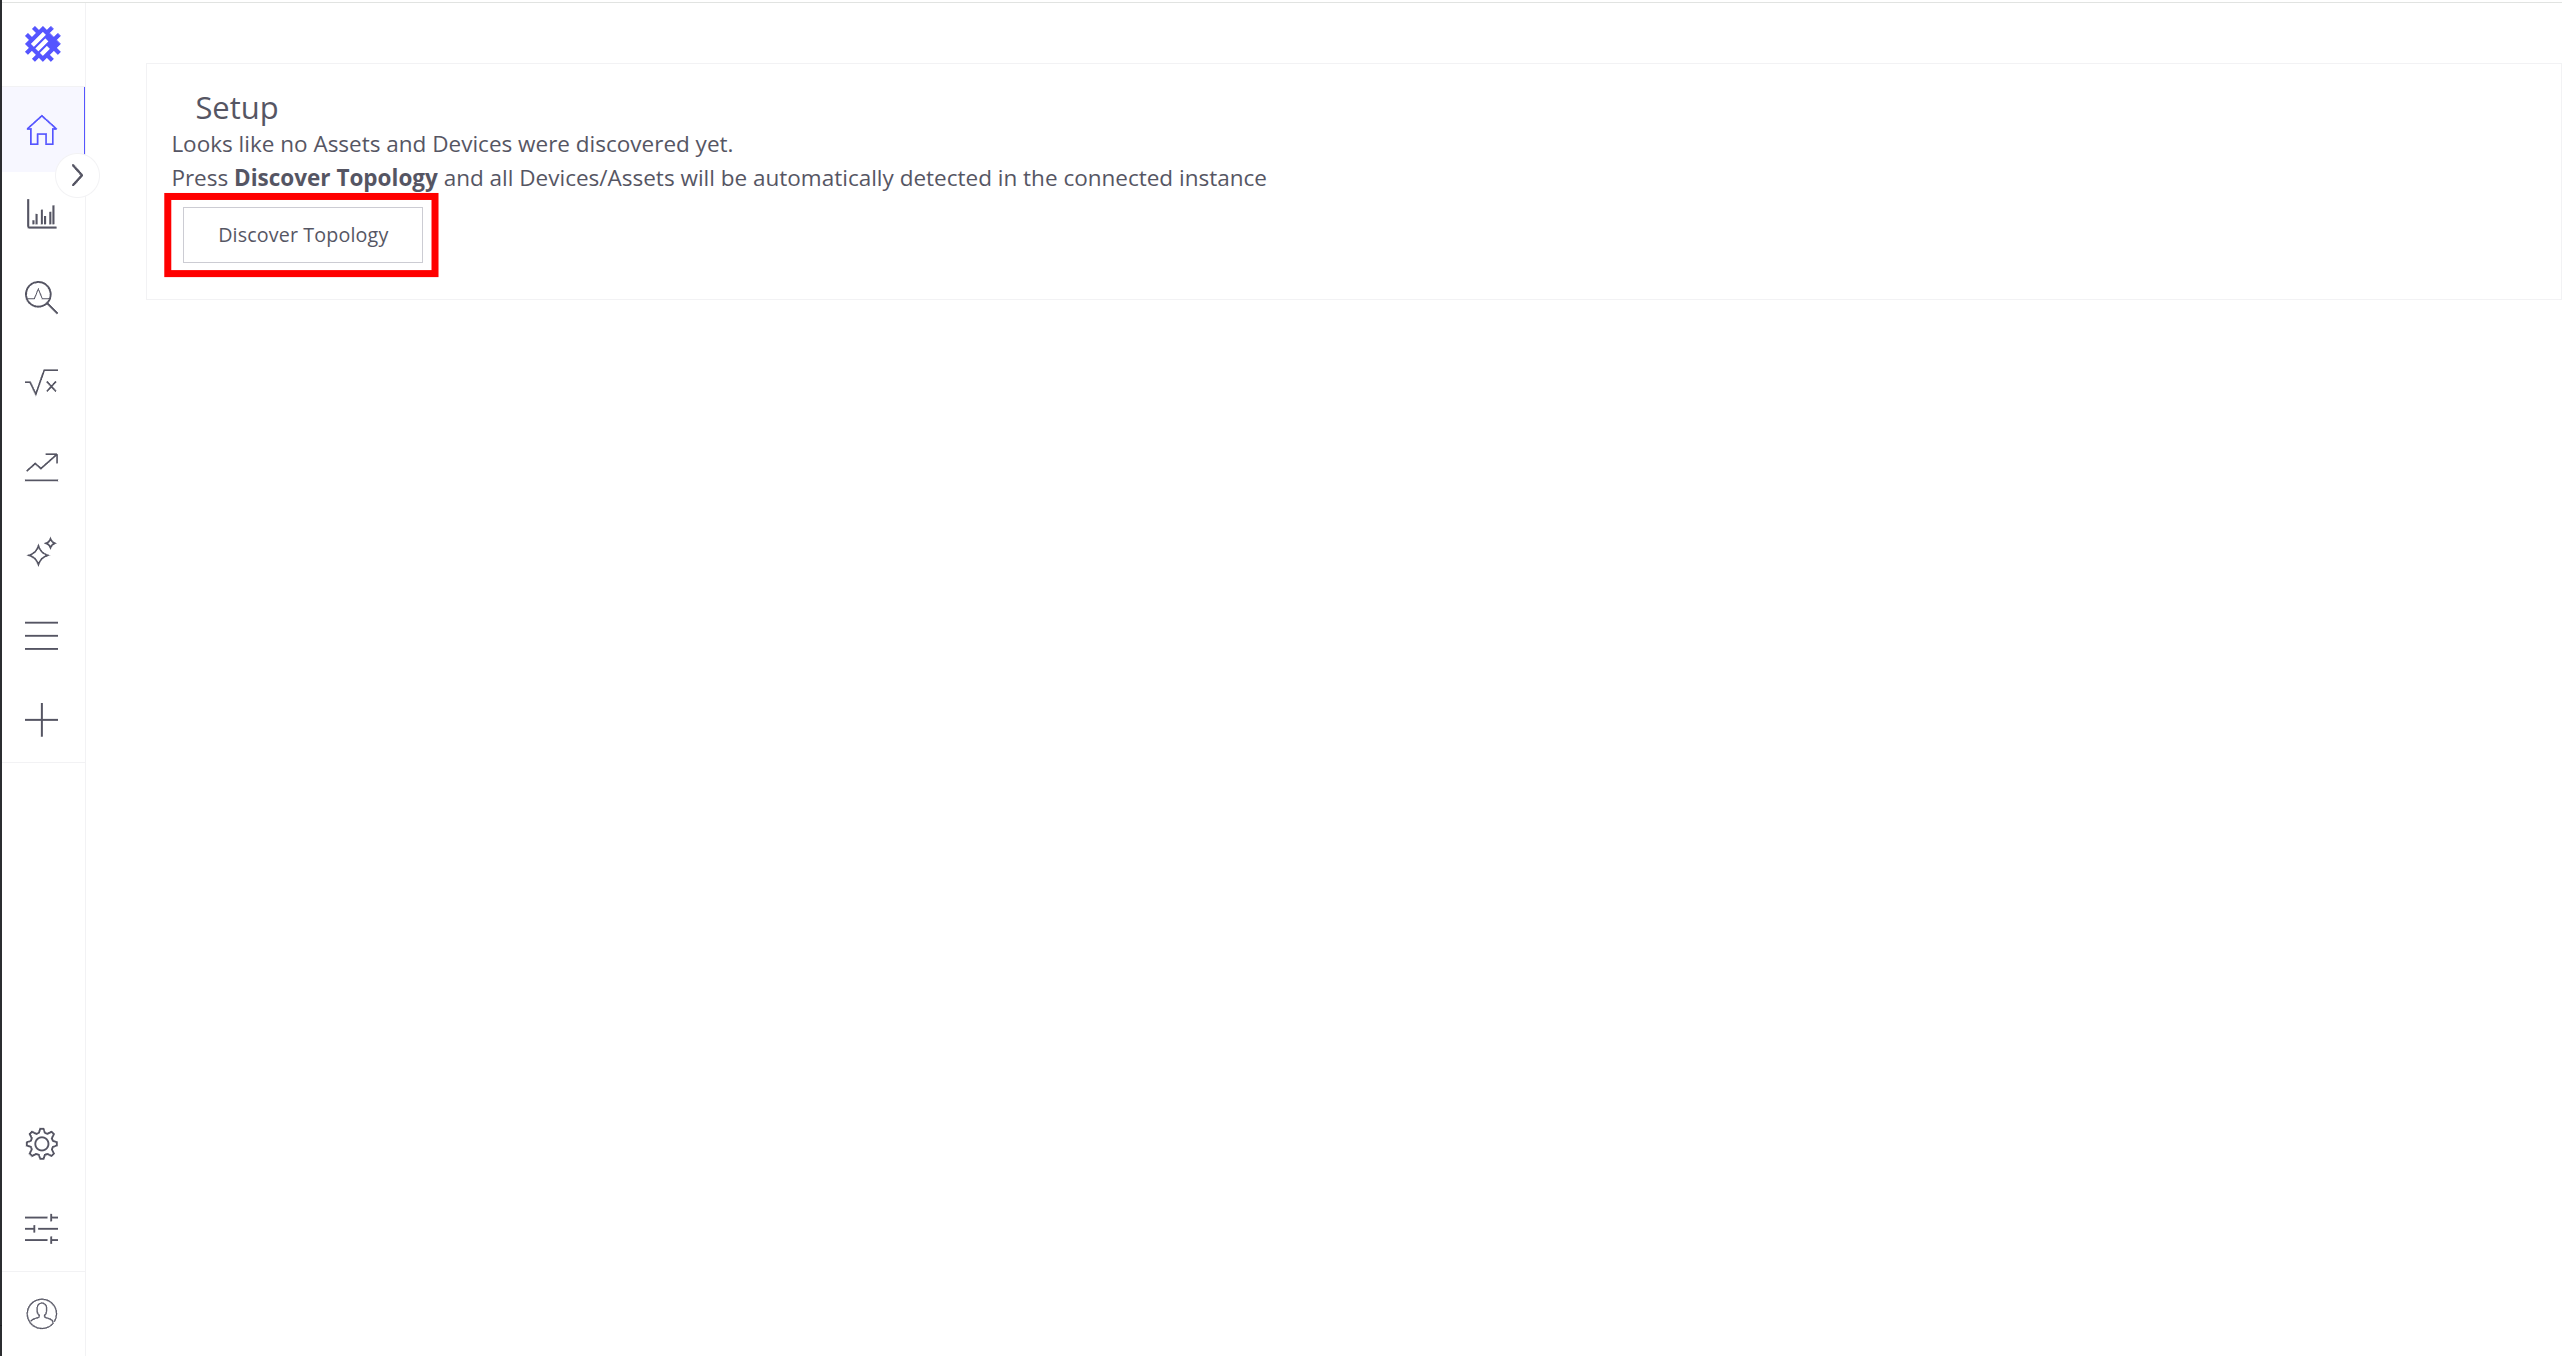
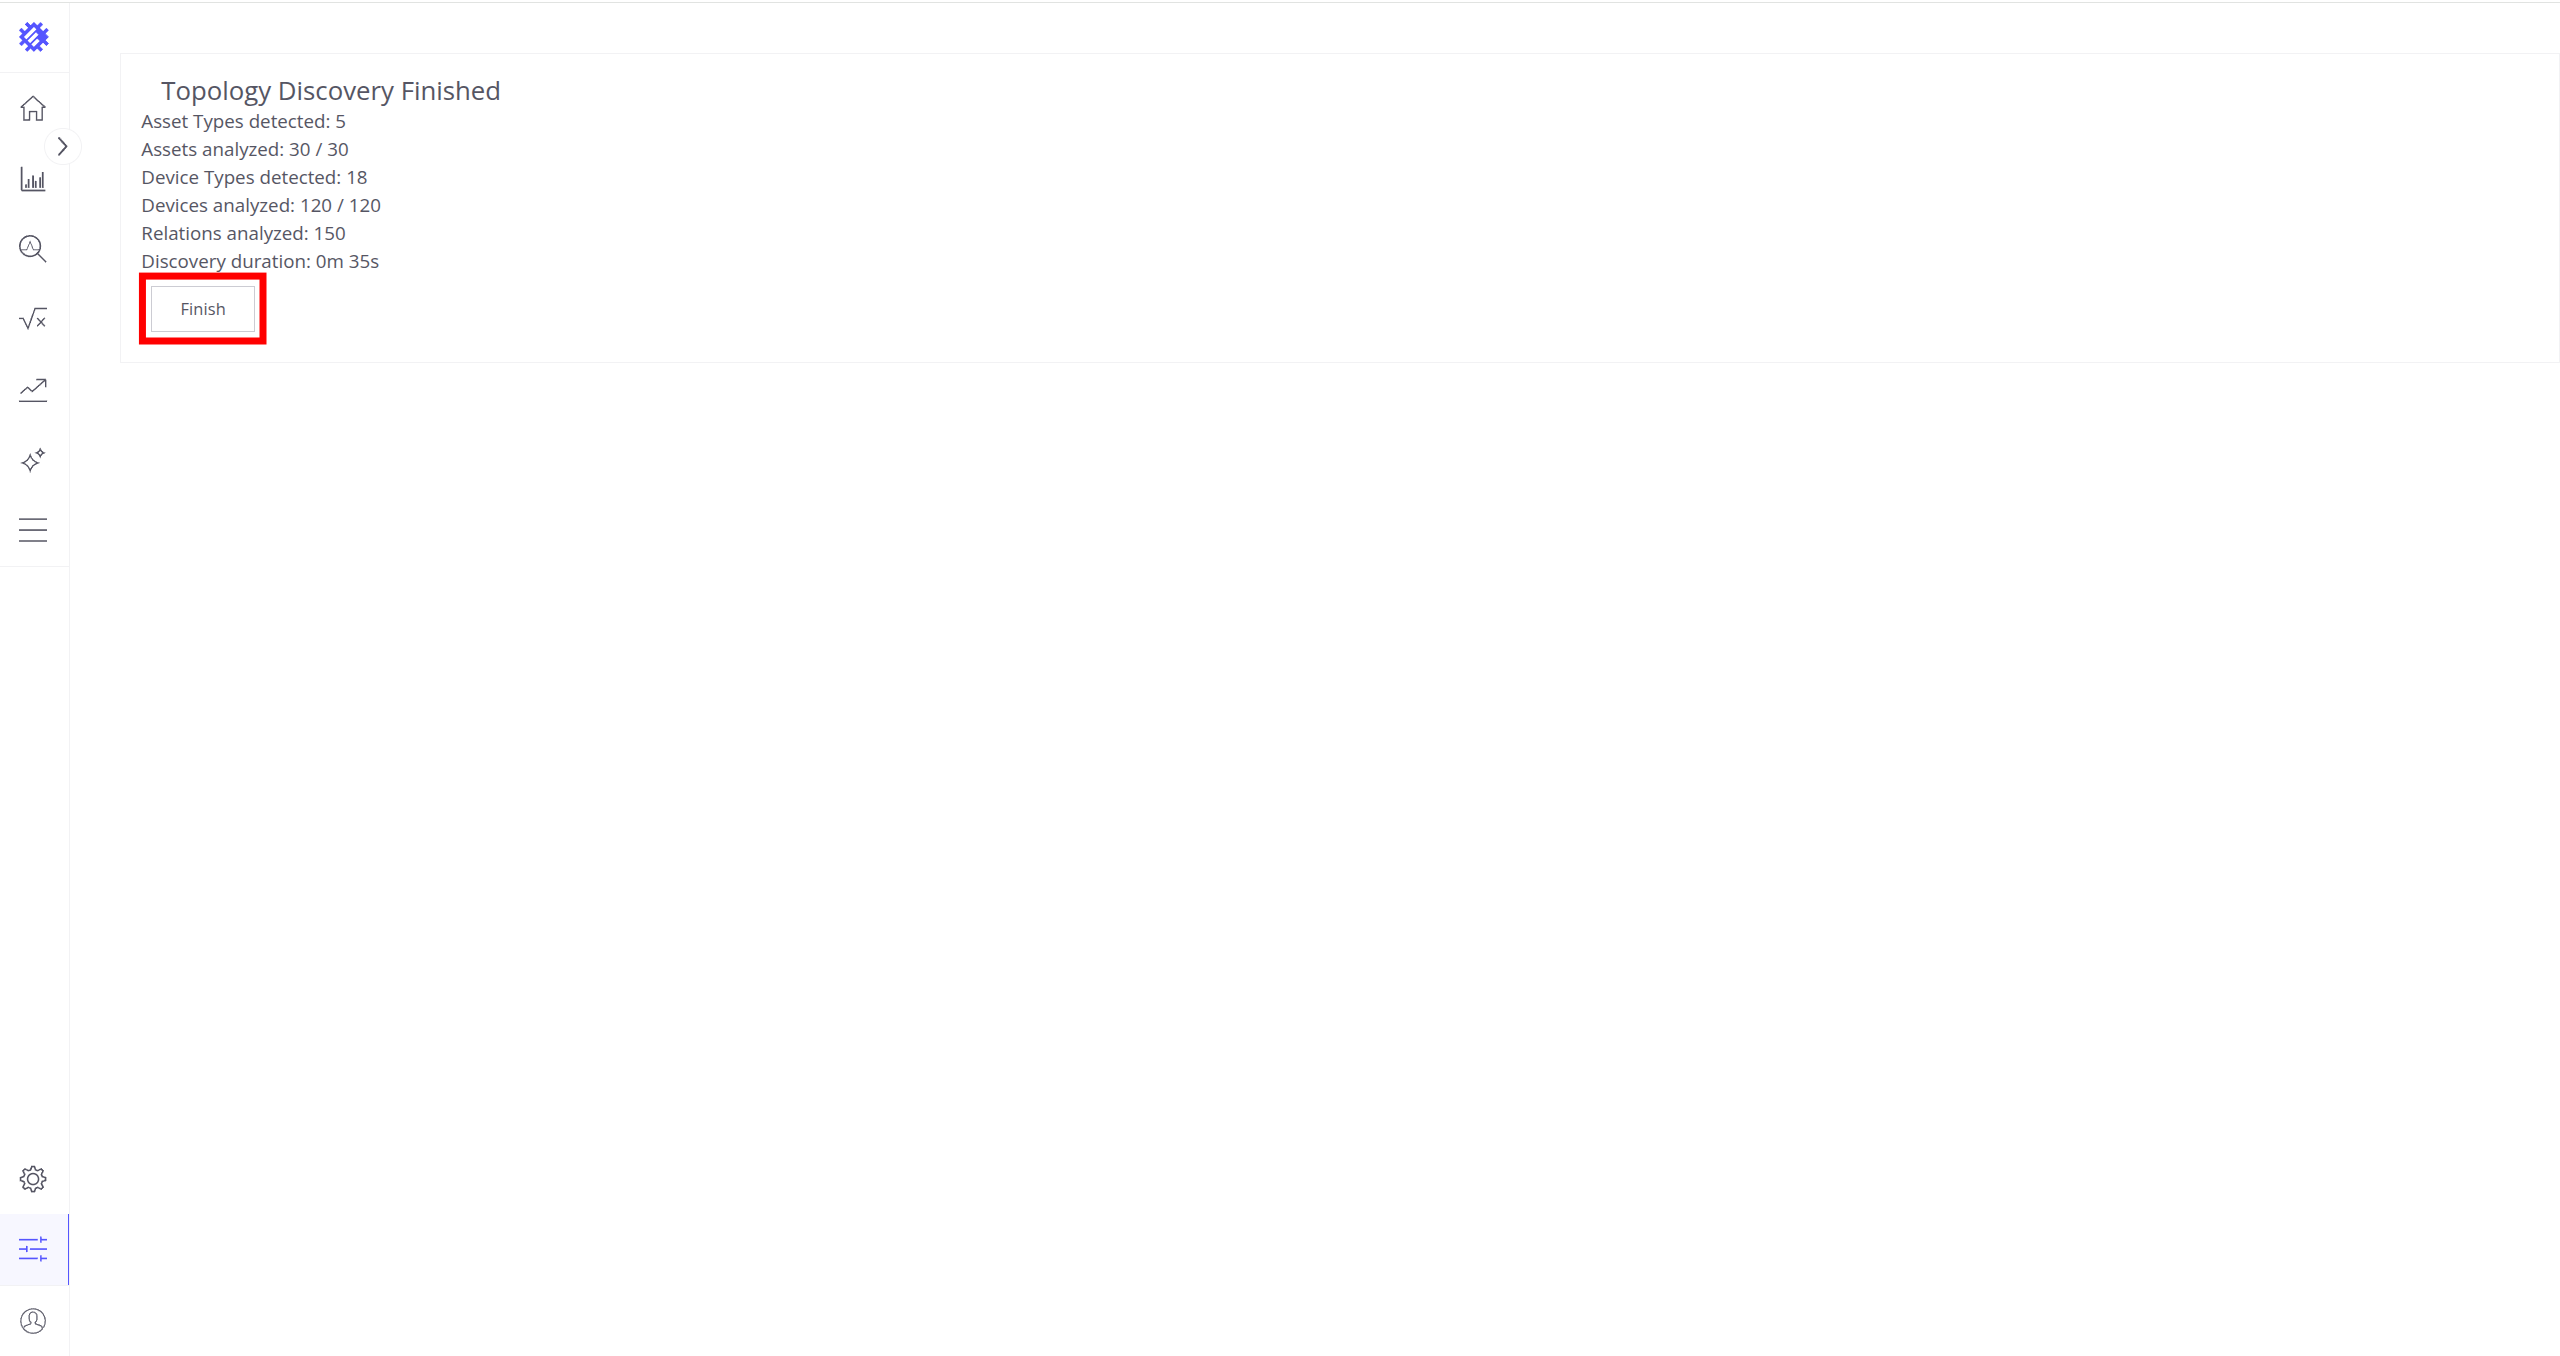
After the first login to SENTIENT ANALYTICS, you need to discover topology to allow SENTIENT ANALYTICS to know about assets, devices, their profiles and relations:
- Click the Discover Topology button to start topology discovery process.
- Wait until your topology will be discovered.
- Click the Finish button to close topology discovery page and unlock the main SENTIENT ANALYTICS functionality.
Click the Discover Topology button to start topology discovery process.
Click the Finish button to close topology discovery page and unlock the main SENTIENT ANALYTICS functionality.
You could read more about how SENTIENT ANALYTICS uses this topology here.
Next steps
-
Getting started guide - These guide provide quick overview of main SENTIENT ANALYTICS features.
-
Metric Explorer - Learn how to explore and create new metrics with SENTIENT ANALYTICS Metric Explorer.
-
Anomaly Detection - Learn how to identify anomalies in the data.
-
Calculated Fields - Learn about Calculated fields and how to use them.
-
States - Learn how to define and analyse states for assets based on raw telemetry.
-
Prediction - Learn how to make forecasts and predict telemetry behavior.
-
Filters - Learn how filter dataset during analysis.
-
Available Visualizations - Learn about visualization widgets available in SENTIENT ANALYTICS and how to configure them.
-
Share and embed Visualizations - Learn how to add SENTIENT ANALYTICS visualizations on SENTIENT dashboard or 3rd party web pages.
-
AI Assistant - Learn how to utilize SENTIENT ANALYTICS AI capabilities.